Wednesday, April 2, 2014

MAKING - gel medium transfers

A few years ago I started trying out different kinds of ways to make transfers onto fabric. My favorite so far has been gel medium transfers.

SO HERE IS HOW I MAKE GEL MEDIUM TRANSFERS!!!

I went to the art supply/craft store and bought this stuff. It was less than $15. I don't remember exactly how much it was.
I bought a bunch of muslin and cut some of it into squares.
I drew some pictures and practiced my writing backwards in cursive. Then I went to the corner store and made a xerox of what I had done. 25¢.
You should probably use a brush or something, but I used my finger to apply the gel medium to the fabric. I spread it to be larger than my photocopied image.
After I am sure that I have enough gel medium on the fabric I put my photo copy down, image into the goop. Make sure that you really press on it. I usually trace all the image with my fingernail or the back of a spoon.
If you hold the fabric up, light shines through it and you can see your image. 
Let dry overnight.
This craft project is to be continued...


NEXT DAY!

Get the paper wet. Let the water soak in for about a minute.
Peel up an edge of paper that isn't really stuck to the fabric. Start rolling it off. Don't be afraid to press on the image, if done right the image should not be affected by rolling the paper away.
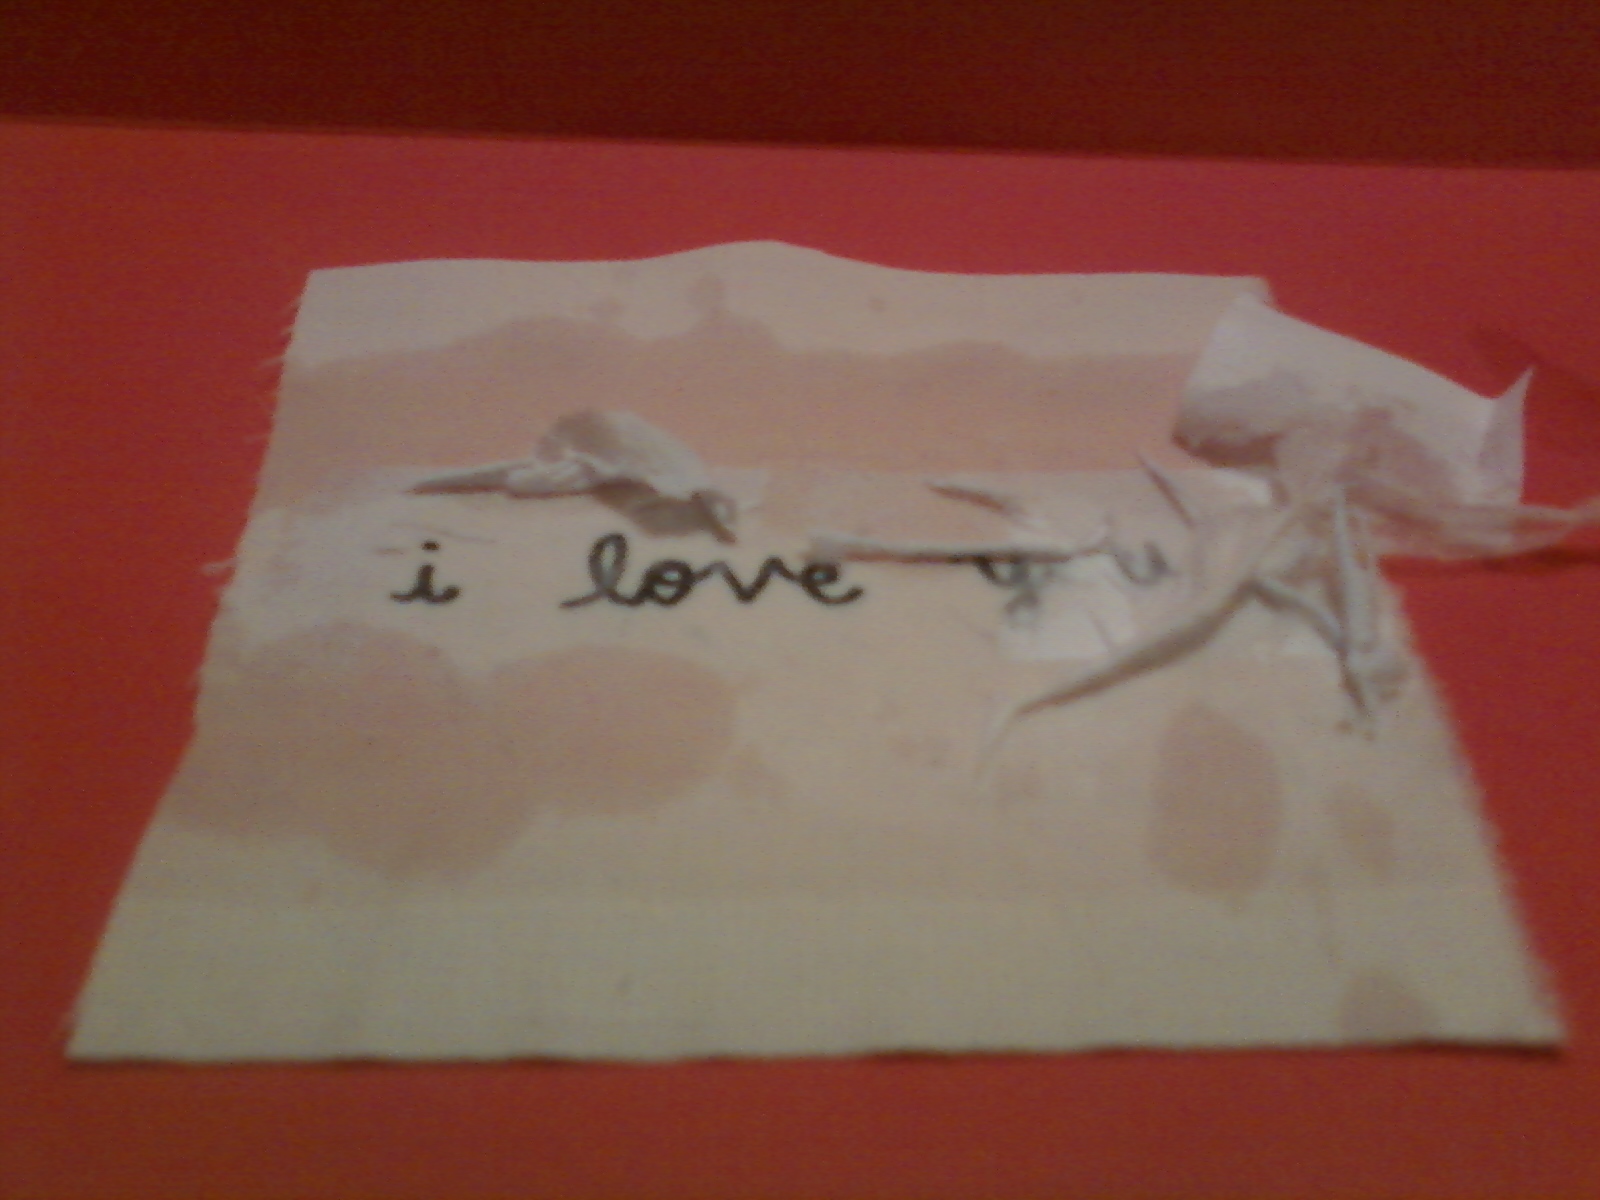
You can use the faucet, a wet sponge or a spray bottle. I have been a fan of the spray bottle. I will mist the whole area and then spray some water onto to fingers and start rolling the paper.
Ta-da! The image is on the fabric! When it dries you may see a need to re-wet and peel/roll away a remaining paper film.
I decided to make a small drawstring bag with this patch. I also used some corduroy fabric, some rickrack and a shoelace.
I secured the patch to the corduroy with a small zigzag stitch along the top and bottom.

Here it is attached!
Now attach the rickrack! I just did a simple straight line across the middle. The thread doesn't match but I don't care.
Now I made a bag. I am not going to explain how I made it. That can be a later tutorial. But here it is done.


Here are some other gel medium trasnfers I attached to sewn things…

A pencil bag with a wonky zipper.
A  pockety foldy thing I made.

I made some backpacks a few years ago. They have both had quite a bit of use. My friend, Jessie, uses hers all the damn time. It has been worn biking through winters, rainy springs, summer and sun, and traveled all over the place. I put small transferred images on the bags.

My bag is the one on the right, Jessie's bag is on the left. You can still kind of see the image (scissors with wings on the handles). SO, the transfers can hold up alright to the elements. The transfers have a slight shine to them, so mine is not visible in this picture. 

Here is a not so great photo of the transfer on my bag, it has held up very well. 


Sunday, December 29, 2013

RECREATING - table cloth dress

I was at the thrift store a few weeks ago and they always have the fabric mixed in with the curtain, table clothes and sheets. 


I found a cute round table cloth. It was round and had nice birds around it in a wintery theme. 


I do not have a round table, I also don't really use table cloths. But I bought it... I had the dream of making it into a circle skirt. 

First I ironed it. Ironing is boring and dumb, but important, like soaking yucky dishes to make washing easier, ironing makes sewing easier and the results that much better. 


Fold the circle in half, then in half again. 


Measure where you want the skirt part of the dress to be (waist? hips?)


Now take that measurement and divide it by 4 THEN subtract an inch. Cut that much off the top of your quartered table cloth. The reason you cut it smaller is the bias of fabric gives it stretch and it will be bigger than you think. If it is too small, then you can cut the hole bigger, but it is hard to make it smaller if you cut too big. 


Now, what will the top be? A blouse? A tshirt? I used a tank top.


 Get a sharpie or pins or whatever you like to mark fabric with.


Mark the skirt part on the sides and in the middle of the front and middle of the back. Do the same with the top. 


You can pin them together or just make sure they match up as you go. Make sure that the too and bottom are both right sides facing right sides and the wrong side facing out.


Get your sewing machine ready! 


Because the top I used was knit and the skirt part was woven I wanted to make sure that the seam wouldn't break if it were stretched. You can use a zig zag stitch OR if you have it a straight stretch stitch! 


Sew around and around (if you want, I usually do two, I am always worried things will fall apart due to faulty sewing on my part...). Flip it right side out and...


That is it!


Wednesday, October 2, 2013

FIXING - jeans rear pocket


A friend tore the back of his pants. Right down the inner side of a back pocket. It was a long tear down the grain. No connective threads at all.


Because this will require visible stitches, I made sure to use matching thread. It is kind of shiney, but its a butt so it will get dirty in no time with sitting and all.


I made one wide zig zag down the length of the tear (mainly joining both sides together).

I picked some material to reinforce the back holding the sides together. I used a soft thinish wool fleece scrap, soft side facing in.  (it is really important to think about what kind of material you use to do mending on jeans. Does it stretch a little but not too much? is it scratchy? will it fray? etc...)

Make sure that the mending scrap is at least 1/2 to 1 inch wider than the area to be mended (in all directions).


Place the material under your area to be mended. Pin that s in place.


I went in zig zags up and down the tear and then two on each side.


Here is how the mending material looked inside. This is why it is nice to cut it extra large.


Trim the mending material and stray threads. I realize that my tension was off for some of the stitches, but it should be fine.


Here they are done.


I did not realize how drastically different flash and no flash would be for the color/white balance. Let me learn that lesson for you. If taking pictures inside, choose one or the other unless you are using bright natural light for the unflashed (and maybe even then too...). 

Monday, May 20, 2013

FIXING - corduroy seam

These pants got to me just in time! They were starting to have a hole/tear but they hadn't really broken yet. This was so so so much easier than trying to fix a hole that had warped the fabric and the middle had frayed away.

My friends grandma used to do the mending, but grandma doesn't live here in the cities, so I am taking on the role of grandma for all mending needs. I like that. It is pretty much what I do for other people already.


I decided to use some thicker heavy duty polyester to reinforce the fabric. I narrowed my thread choices down to two, I chose the lighter one on the right. (thank you again Grandma and Grandpa for all my awesome crafting/mending supplies).


I positioned the polyester under the stressed seam and sewed many parallel lines along the stressed seam... then I followed the wale of the corduroy for a few seams (going over the original stressed seam). The thread is kind of shine-y, especially with my camera flash, but done it is hardly noticeable.


Here is the inside. I don't usually use pins for patches, so using a large piece of material is crucial. I thought it was centered, NOPE! But that was fine.


Here is the inside after trimming.


AND here is the outside post mending.

FIXING - crotch repair

Urban outfitters jeans not only have crap zippers, they are also made out of stretchy stuff, not denim.
These had holes on the top of the inside of the thighs.

I used some heavy duty windstop polarfleece stuff that was the only stretchy heavy duty (but soft) material I had on hand. Here is the small piece I used. It has thread stuck to it.


This is the big hole. It looks like it has been through a few repairs that did not hold. A big problem with pants made out of material like this is how much they stretch. So it got a hole and it stretched differently on all the sides and no longer fits and nice and flat together. (A STITCH IN TIME!!!)


I put the piece of patch material inside the pants, after positioning the hole under the needle (right side out). First I zigzagged down the edges, then across the middle, then back and forth, over and over, essentially darning.


I always use a much larger piece of patching material than needed, that way it's easier to position it and get the whole hole mended. Here it is on the inside after trimming the fabric.


I forgot to get a picture of the outside, but there was a second hole on the other leg that hadn't progressed as far, here is that one on the outside.


If your pants are getting a hole or showing stress on a seam, FIX IT ASAP and love those pants for years. This is especially important for all you kids wearing flimsy stretch jeans and/or riding bikes!